
Team & workspace
Inviting your team
Section titled “Inviting your team”Go to Settings → Team and click Invite people. Add one or several emails (separated by commas or new lines), an optional name and a role, then Send invite. Pending invites can be re-sent, and roles are changed inline in the member list.
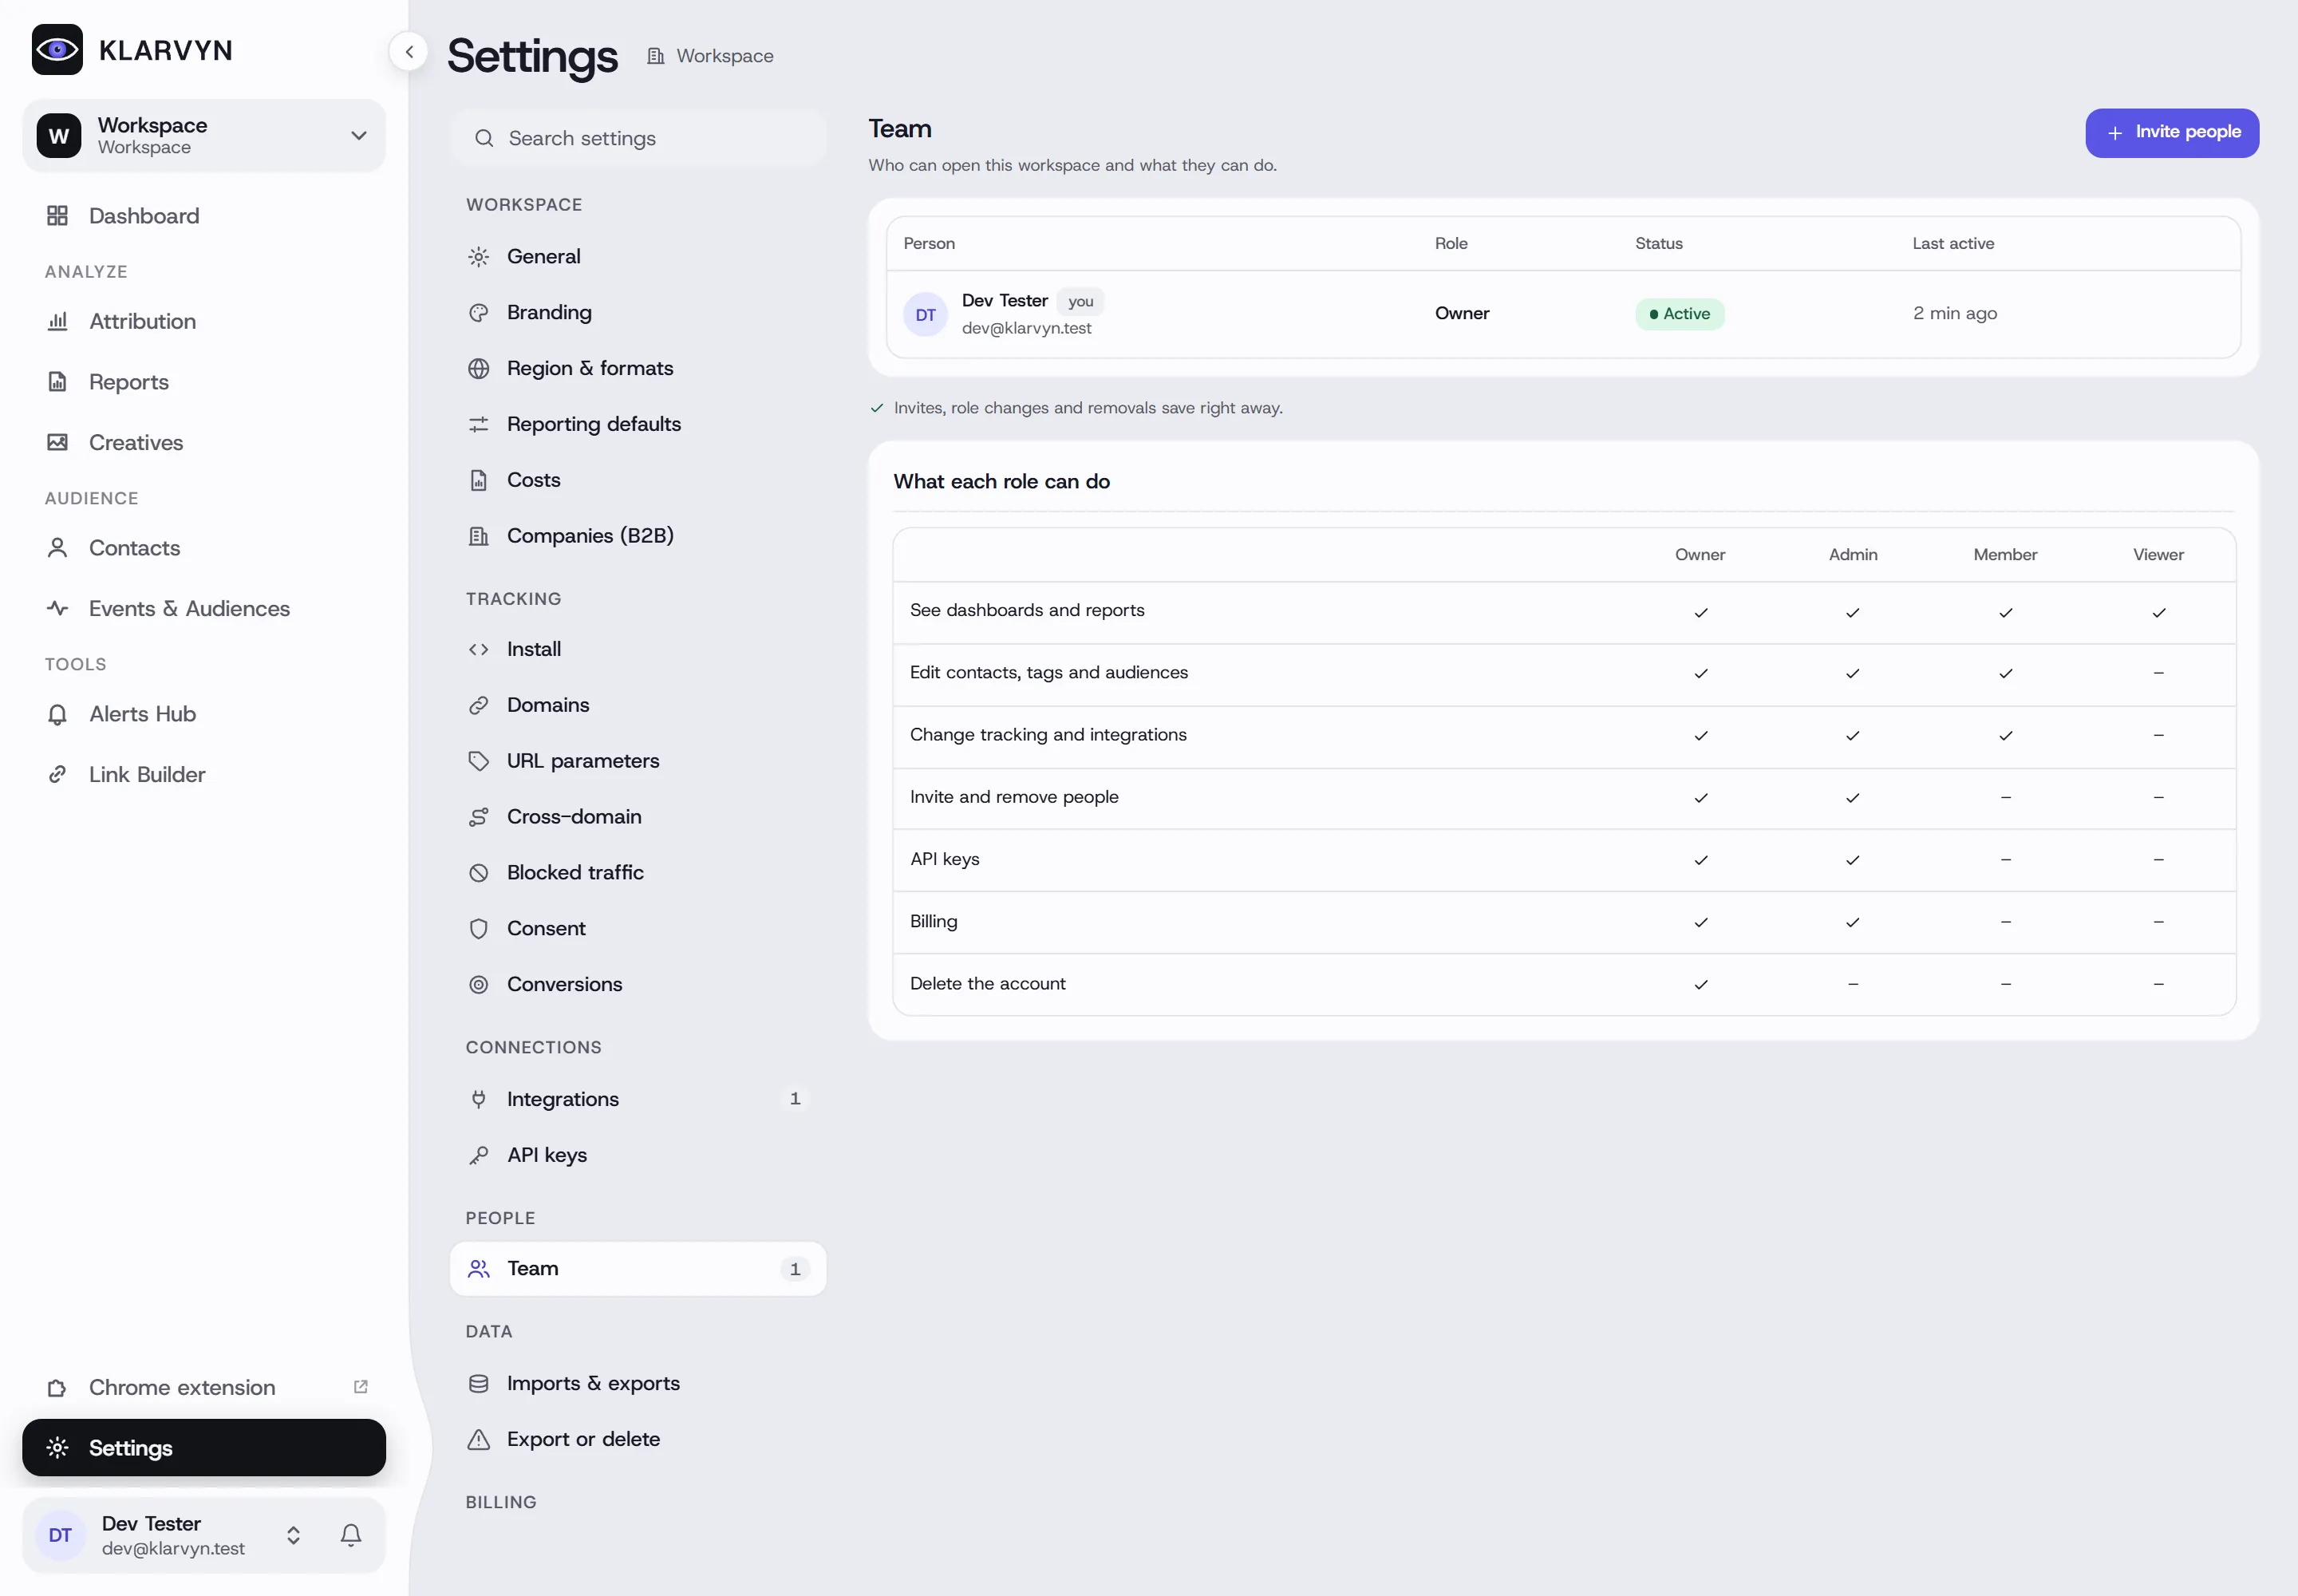
| Role | Can do |
|---|---|
| Owner | Everything, including billing and deleting the workspace. The owner’s role can’t be changed. |
| Admin | Full access, manages the team and billing. |
| Member | View and edit data — no team or billing access. |
| Viewer | Read-only access. |
The Team page also shows a What each role can do matrix. Team members are who you can pick as email recipients for alerts and scheduled reports in the Alerts Hub.
Your workspace
Section titled “Your workspace”The workspace itself is configured across the Workspace group in Settings:
- General — workspace name, the Workspace ID (used by the Shopify app and headless tracking setups — copy it from here) and your logo.
- Branding — brand colour and report footer.
- Region & formats — timezone, currency, date and number formats.
- Reporting defaults — the date range and attribution model reports open with.
Switch between workspaces with the workspace picker at the top of the sidebar. If your company has several workspaces, owners and admins also get an Organization view there — overview, workspaces, central billing, team access and security.
Your account
Section titled “Your account”Language and theme (light/dark) are personal — set them under Your account in the account menu at the bottom of the sidebar.
Exporting or deleting everything
Section titled “Exporting or deleting everything”Settings → Export or delete: Export all data downloads your contacts, events and settings as CSV files in a ZIP. Ask support to delete removes the workspace for good — owner only, confirmed by email. Export first.