Quick start
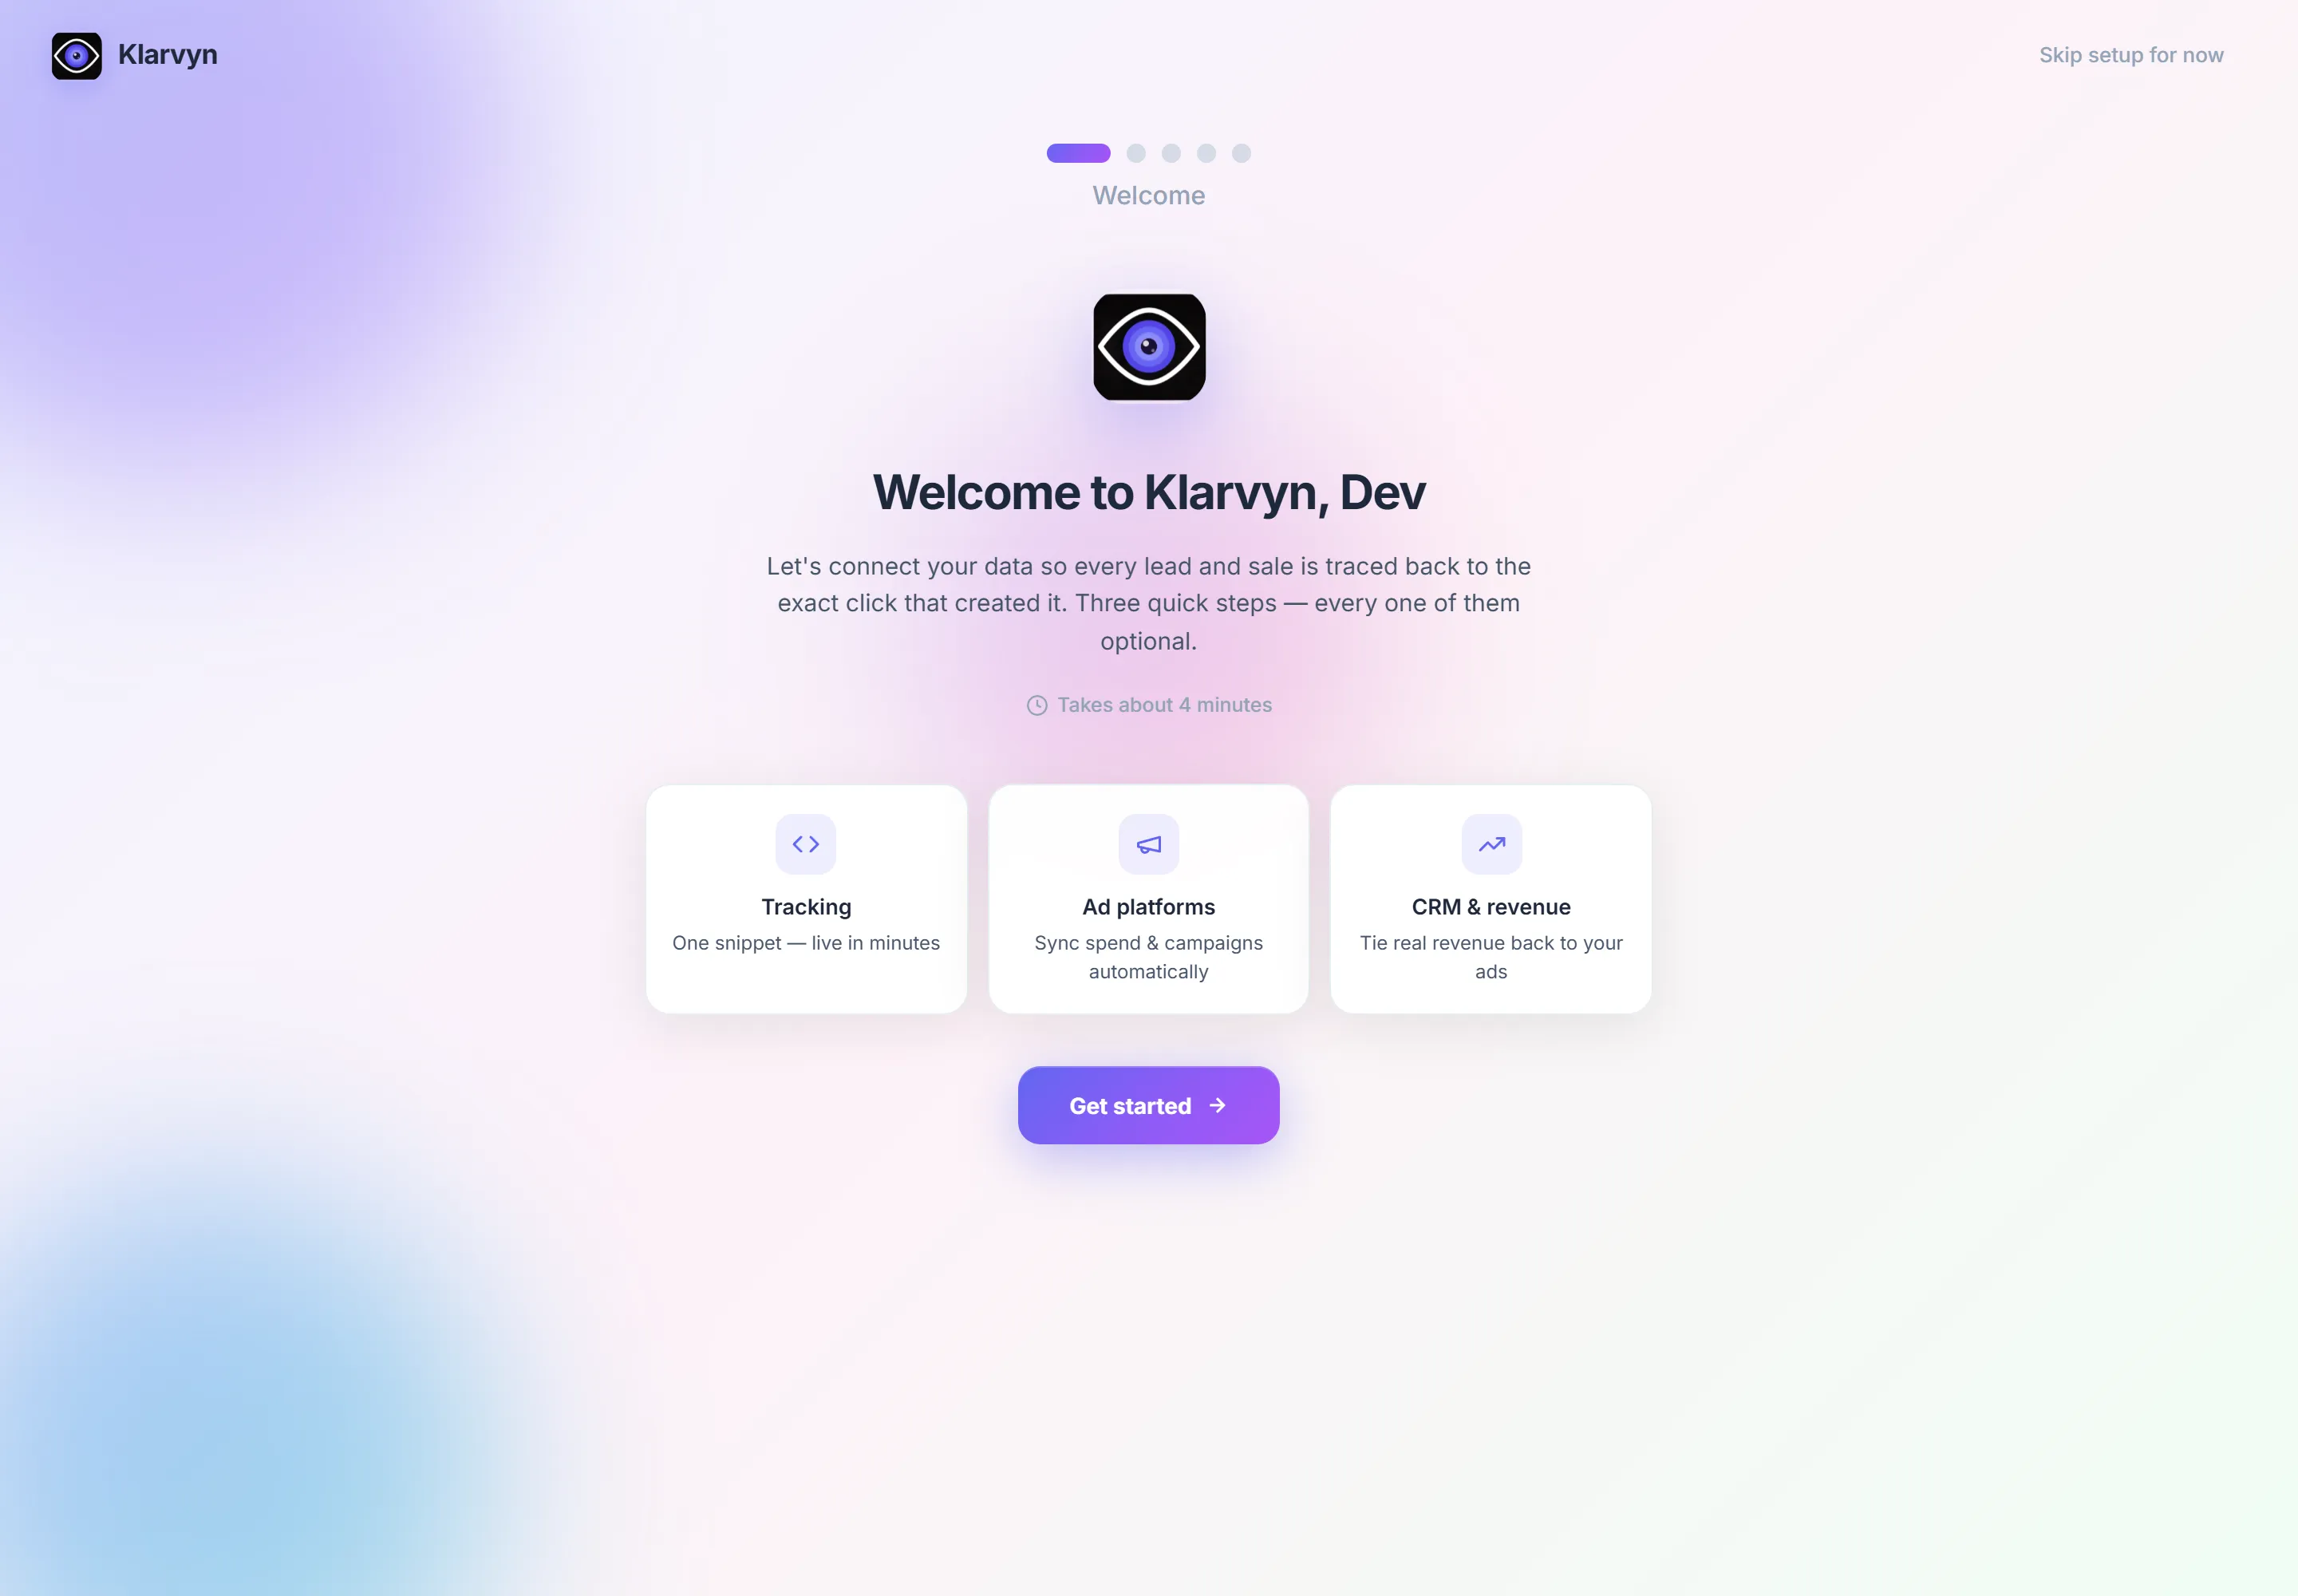
The first time you log in, Klarvyn’s Welcome setup walks you through connecting your data — three quick steps, every one of them optional, in about 4 minutes. This page is that same journey, explained. (Skipped it? Everything lives under Settings, and the Finish setting up card in the app — Continue setup — takes you back.)
Step 1 · Turn on tracking
Section titled “Step 1 · Turn on tracking”Two quick things: pick your tracking domain, then paste the snippet.
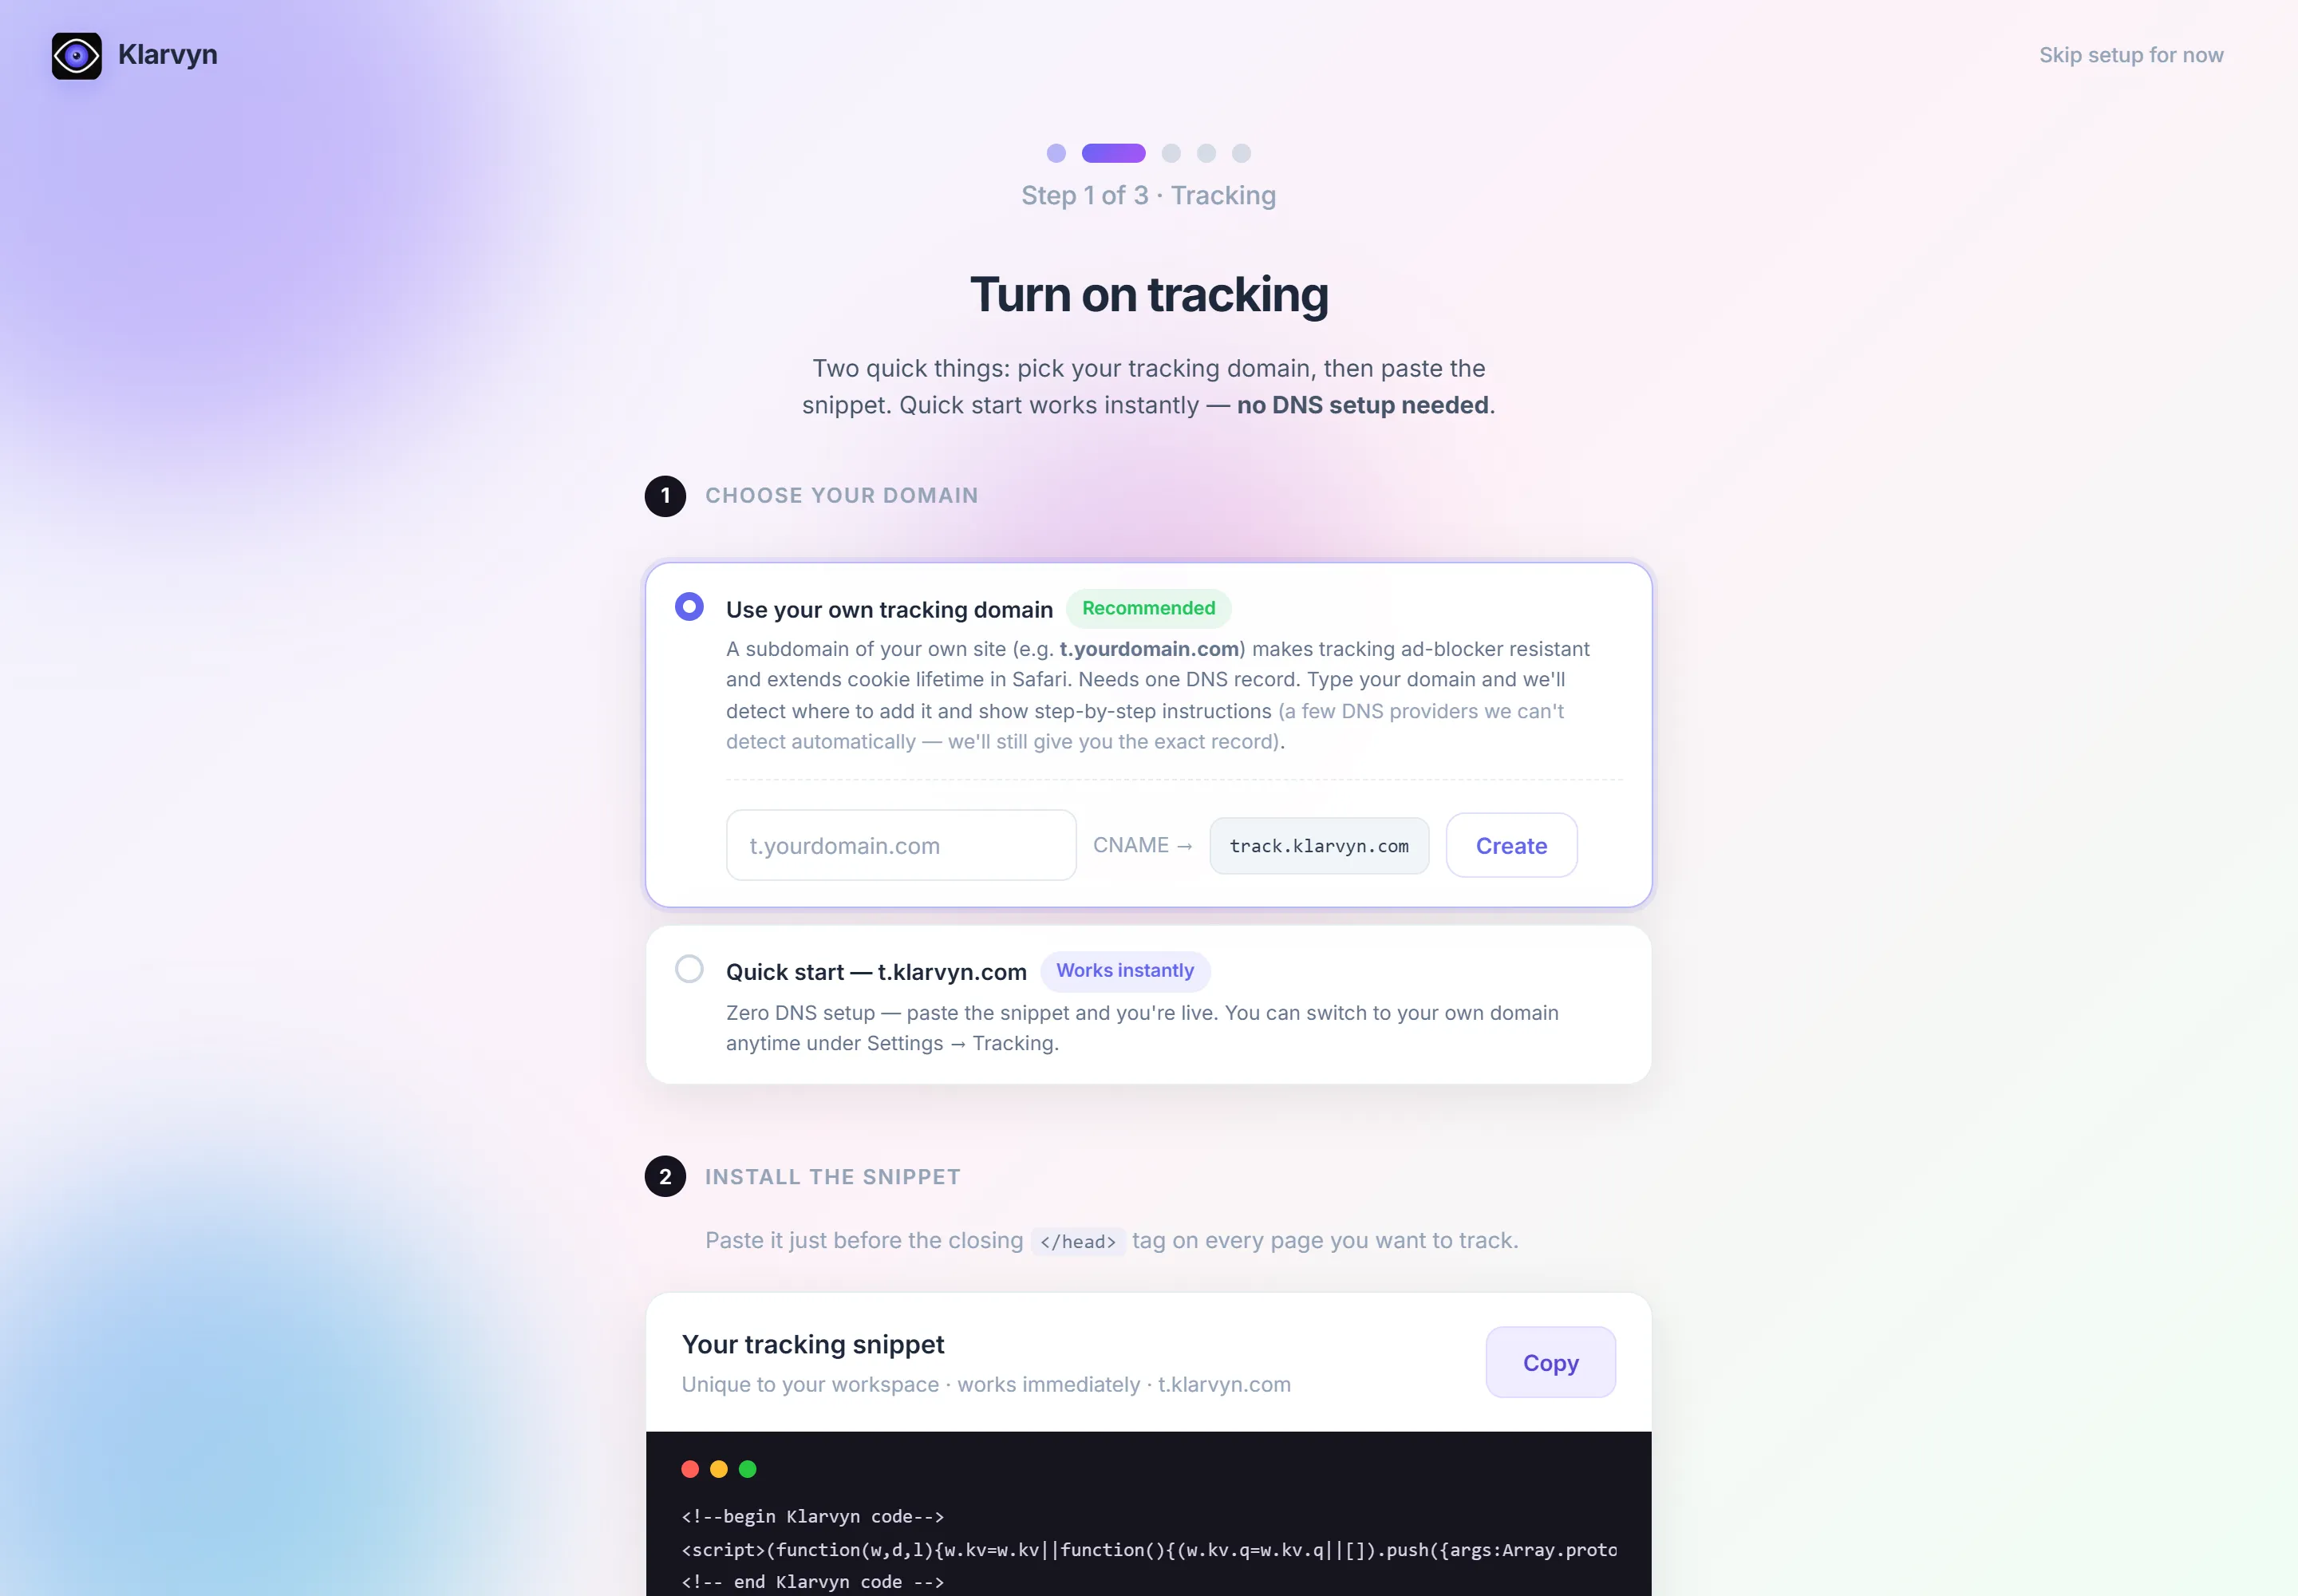
- Use your own tracking domain (recommended on paid plans): a subdomain of
your own site, e.g.
t.yourdomain.com, makes tracking ad-blocker resistant and extends cookie lifetime in Safari. It needs one DNS record — the wizard detects your DNS provider and shows exact instructions. During a trial this option is marked Paid plan — use Quick start for now. - Quick start —
t.klarvyn.com: zero DNS setup, works instantly. You can switch to your own domain anytime under Settings → Domains.
Then paste the snippet just before the closing </head> tag on every page you
want to track. Test your landing page checks a URL for you: paste it and
the wizard confirms the snippet is live there.
Full details (platform notes, custom domains): Install the tracking script.
Step 2 · Where do you run ads?
Section titled “Step 2 · Where do you run ads?”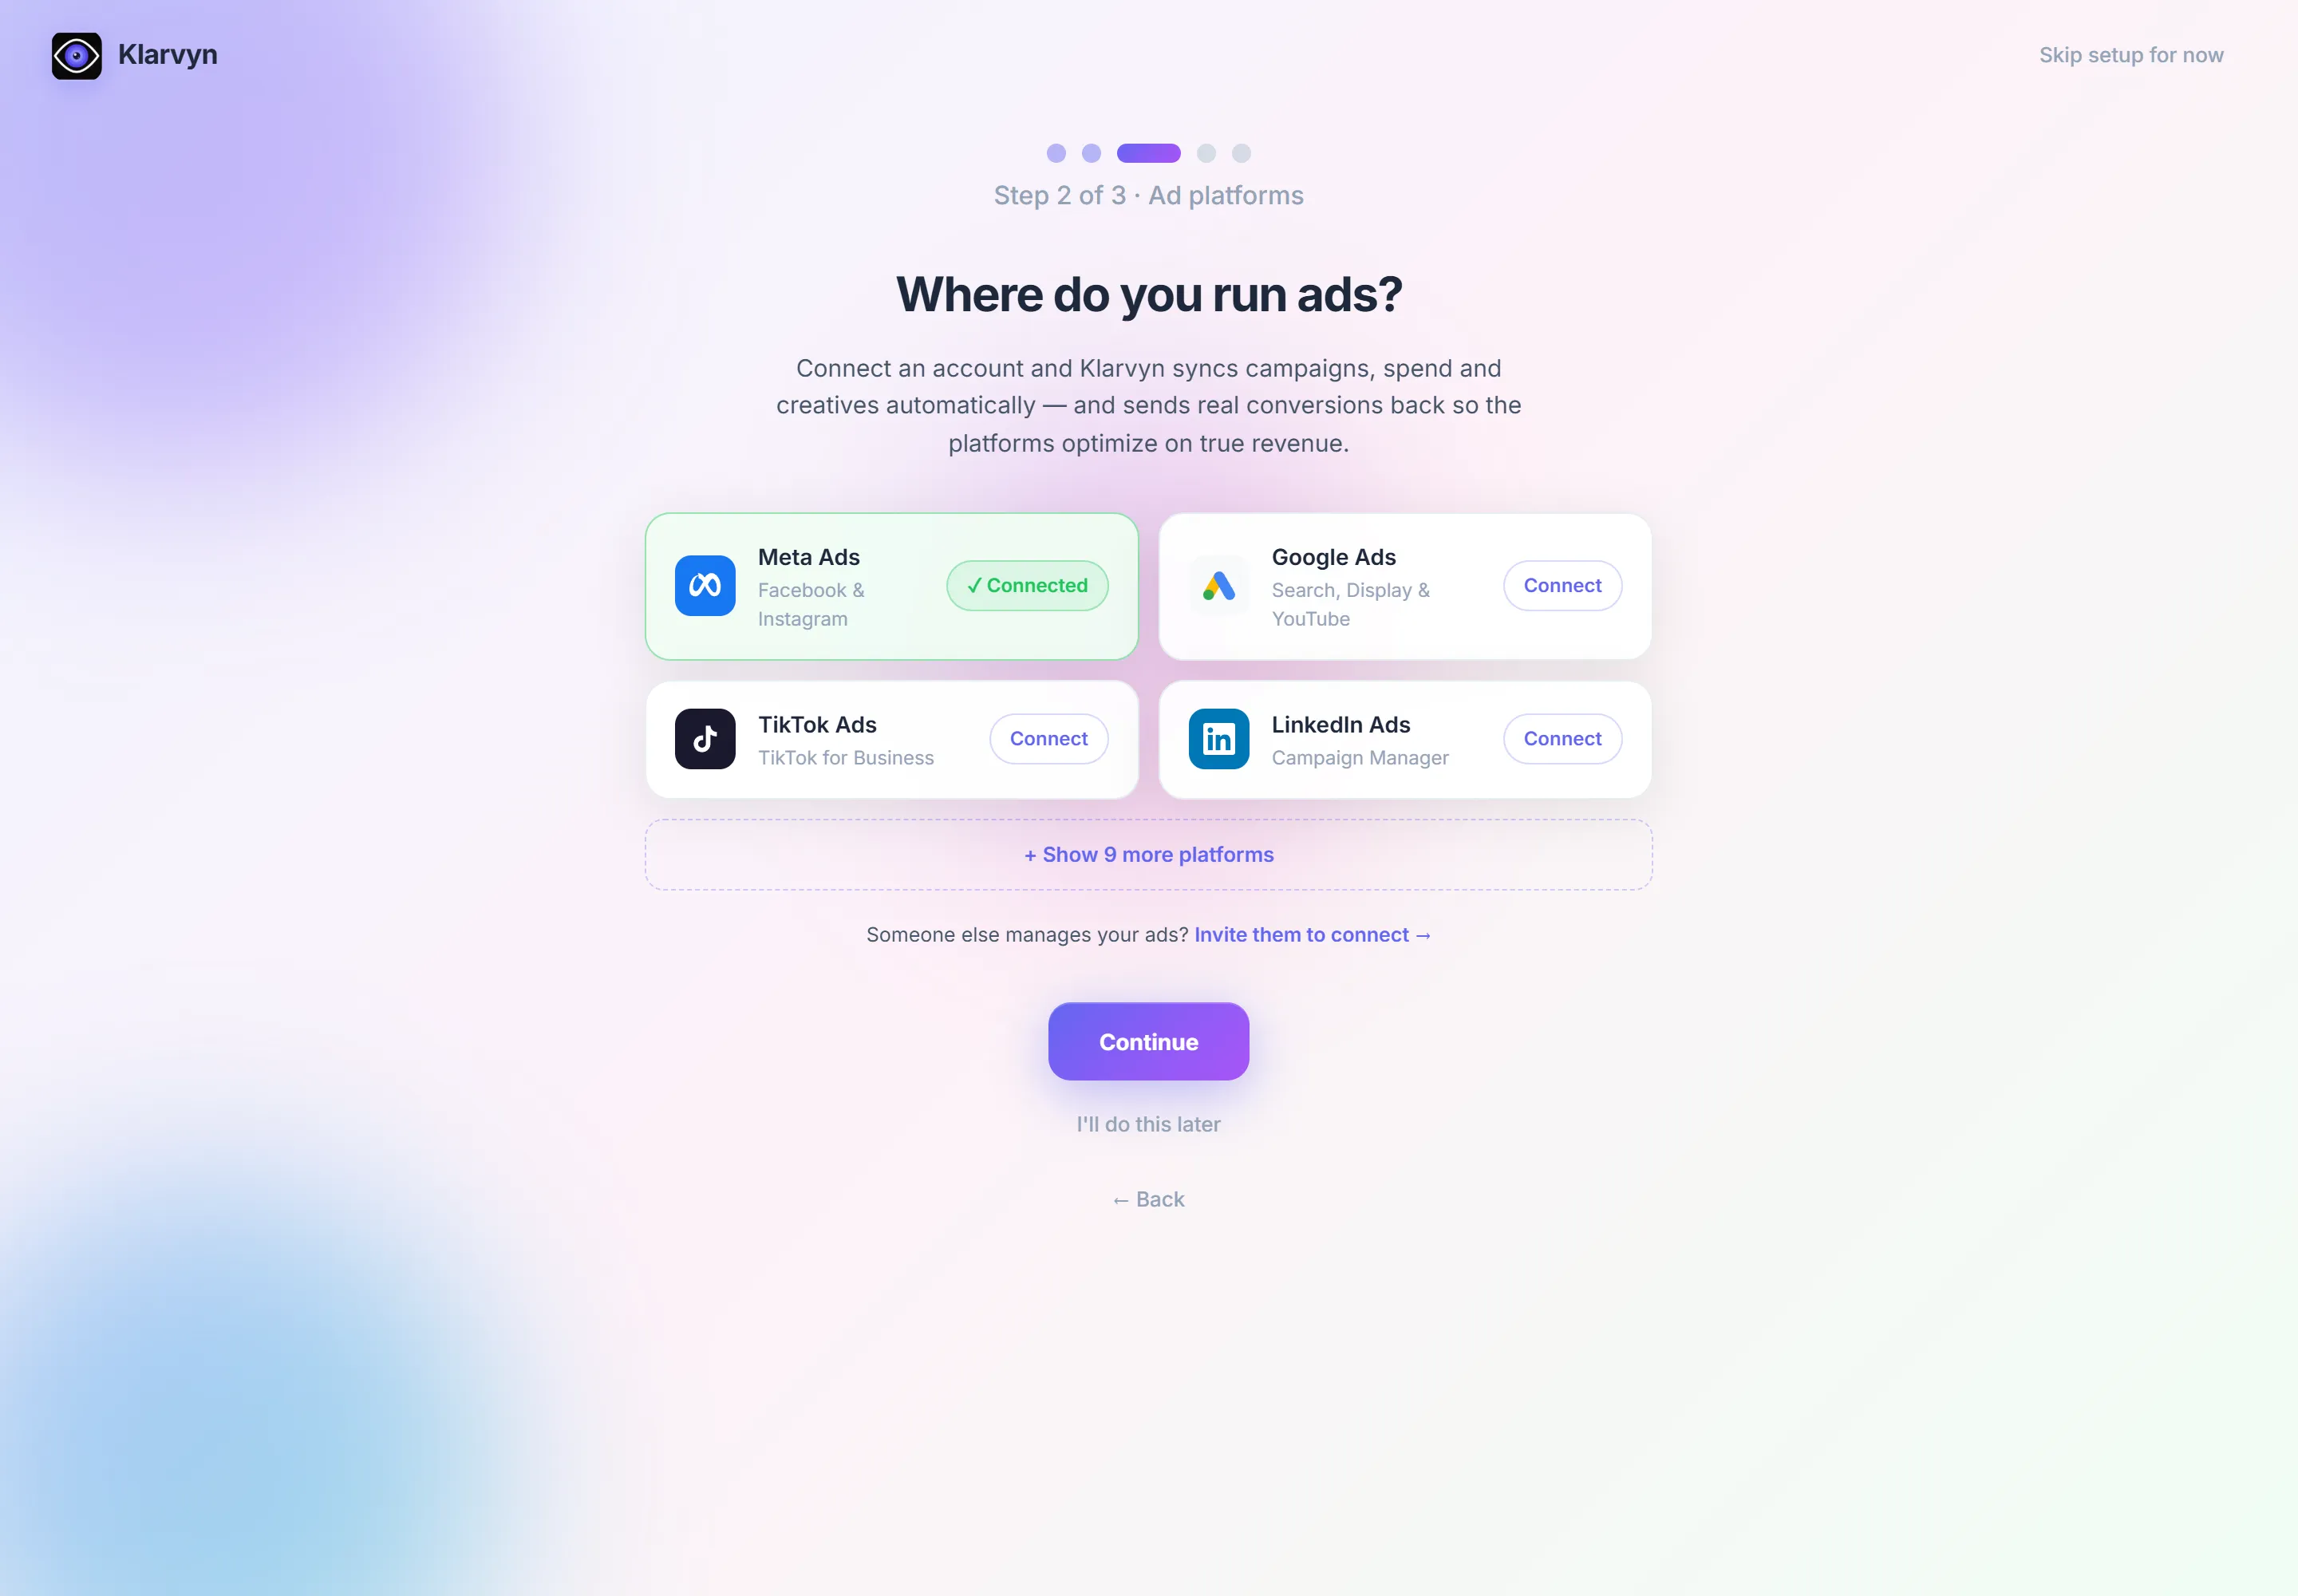
Connect an account and Klarvyn syncs campaigns, spend and creatives automatically — and sends real conversions back, so the platforms optimize on true revenue. One click per platform: Meta, Google, TikTok and LinkedIn are shown first, and Show more platforms reveals the rest (including ChatGPT Ads).
Someone else manages your ads? Invite them to connect sends them an invitation to join your workspace (as a Member), so they can connect the ad accounts themselves — no shared logins.
Step 3 · Where do your leads & revenue live?
Section titled “Step 3 · Where do your leads & revenue live?”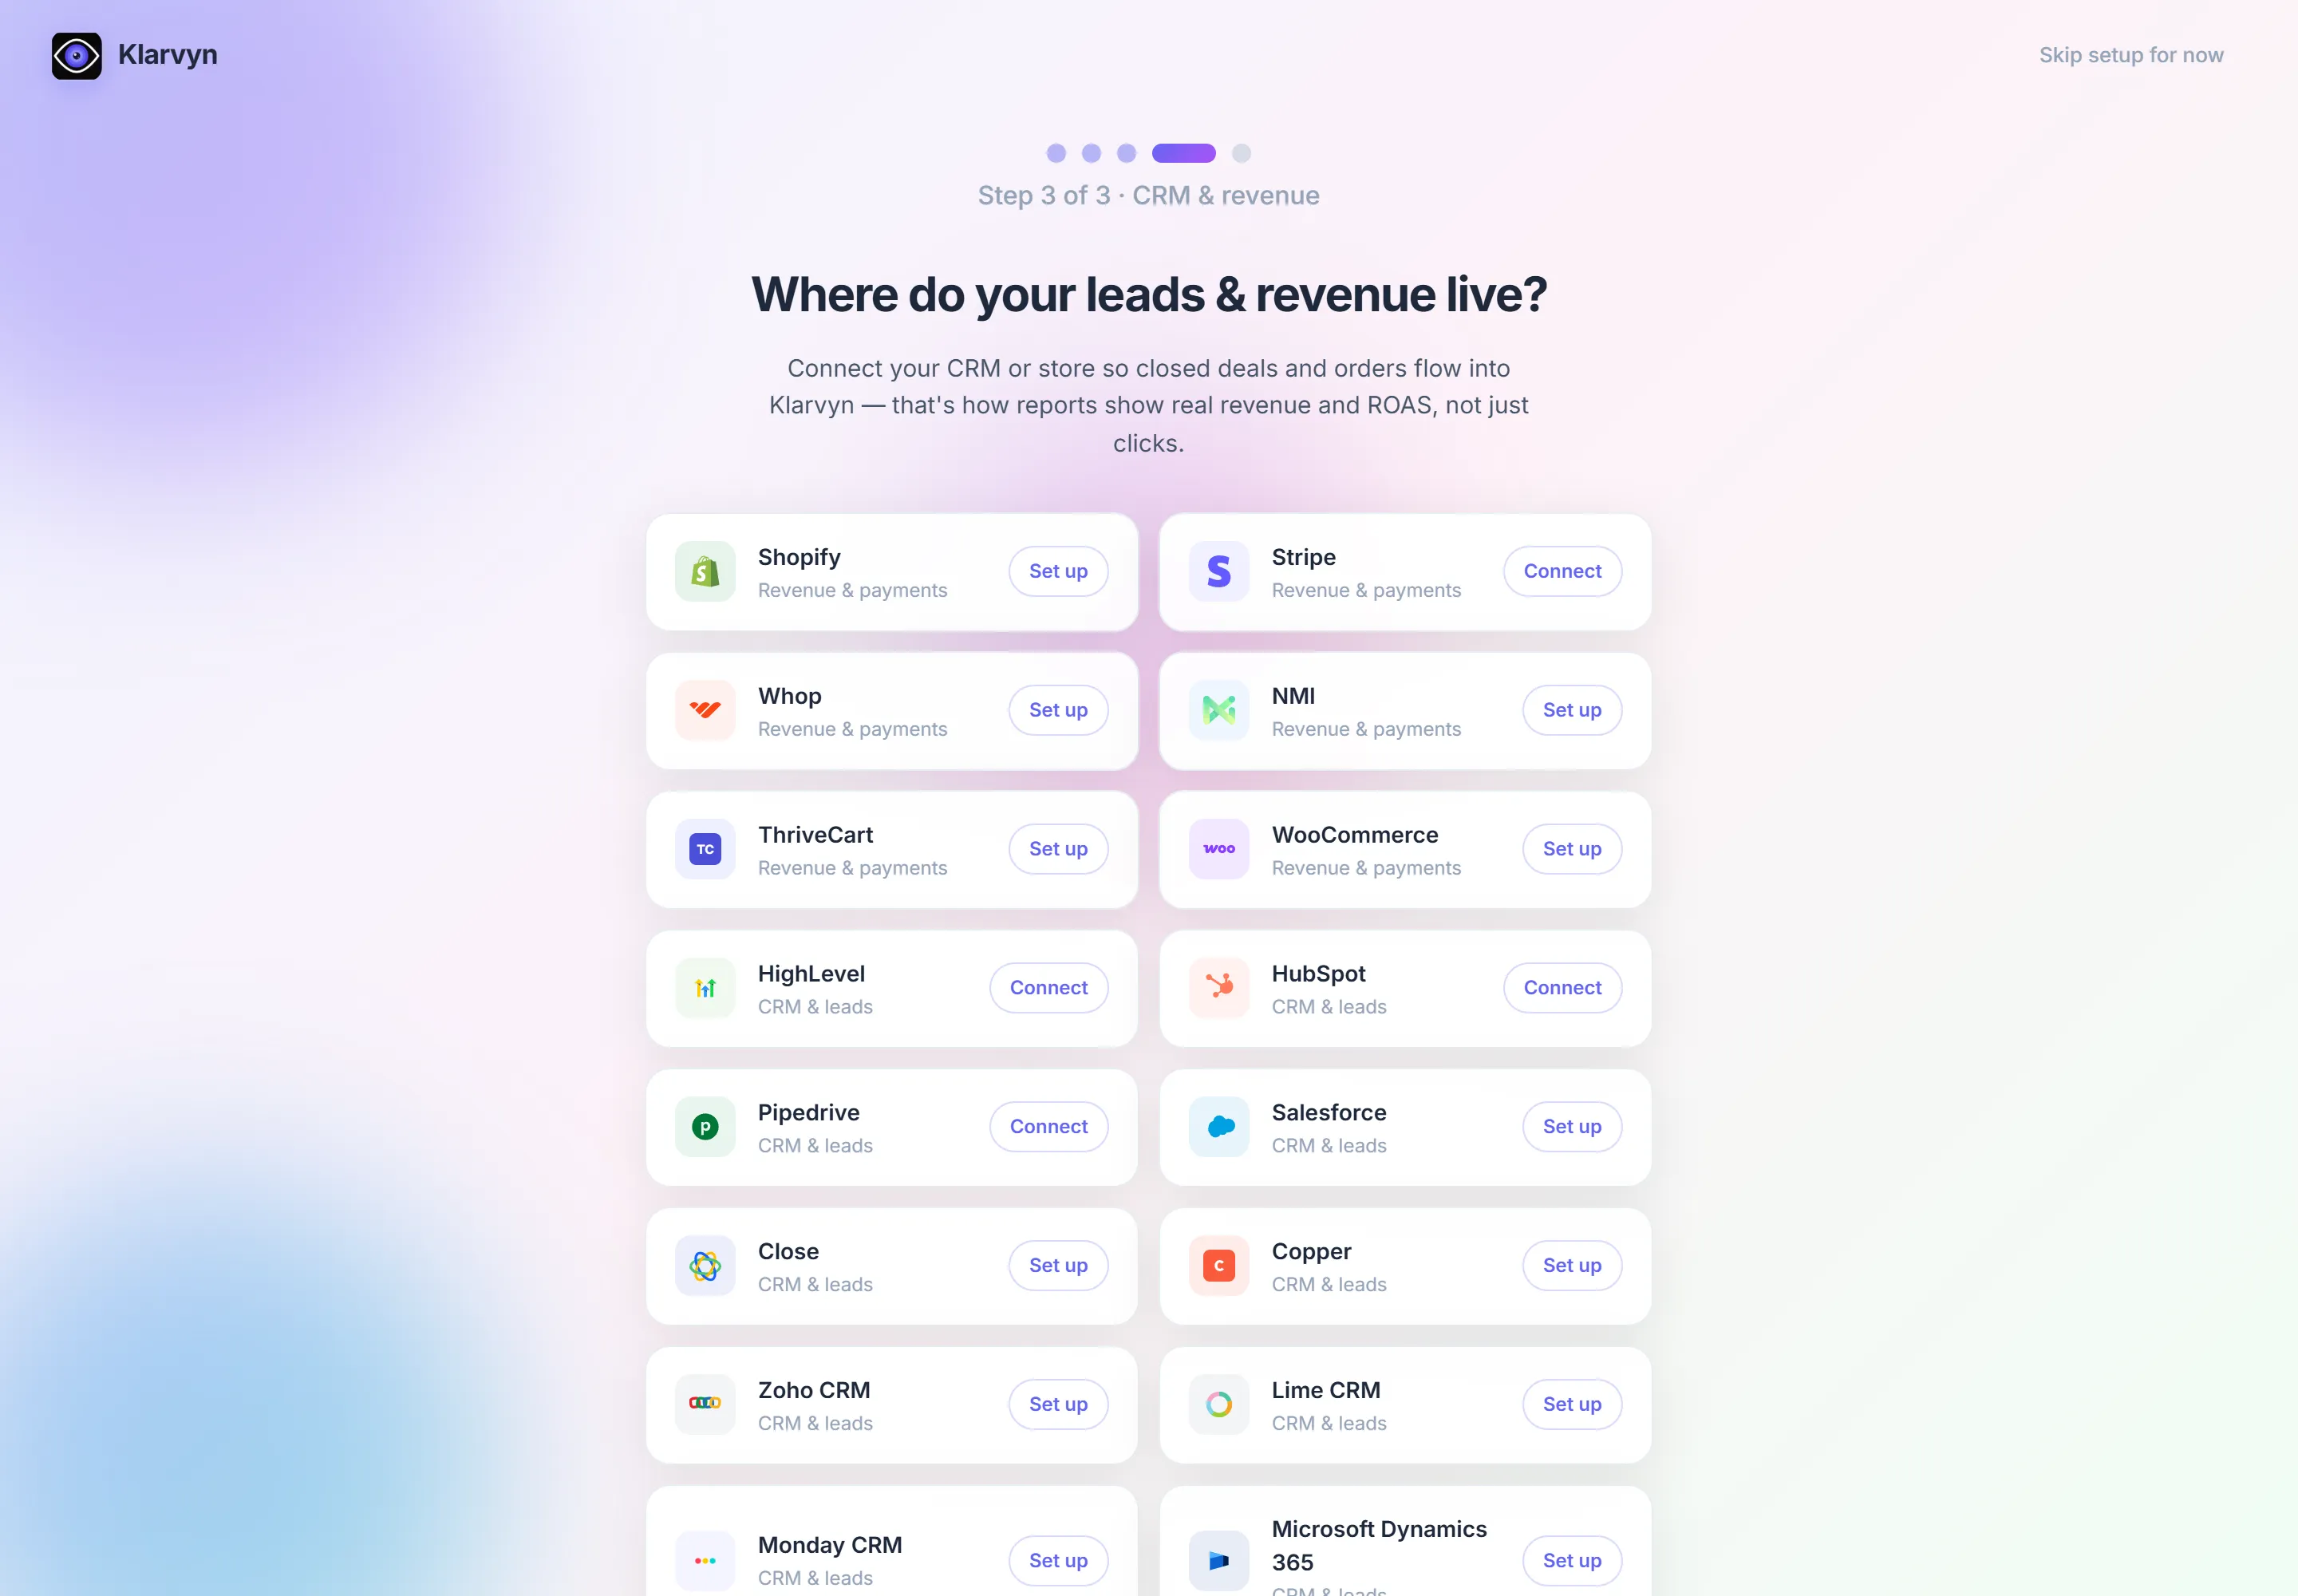
Connect your CRM or store so closed deals and orders flow into Klarvyn — that’s how reports show real revenue and ROAS, not just clicks. Tools are grouped into Revenue & payments and CRM & leads. One-click tools say Connect; tools that need a key or a few steps say Set up and open a short guided window. Every tool also has a step-by-step guide in the Integrations section.
Done — and finishing later
Section titled “Done — and finishing later”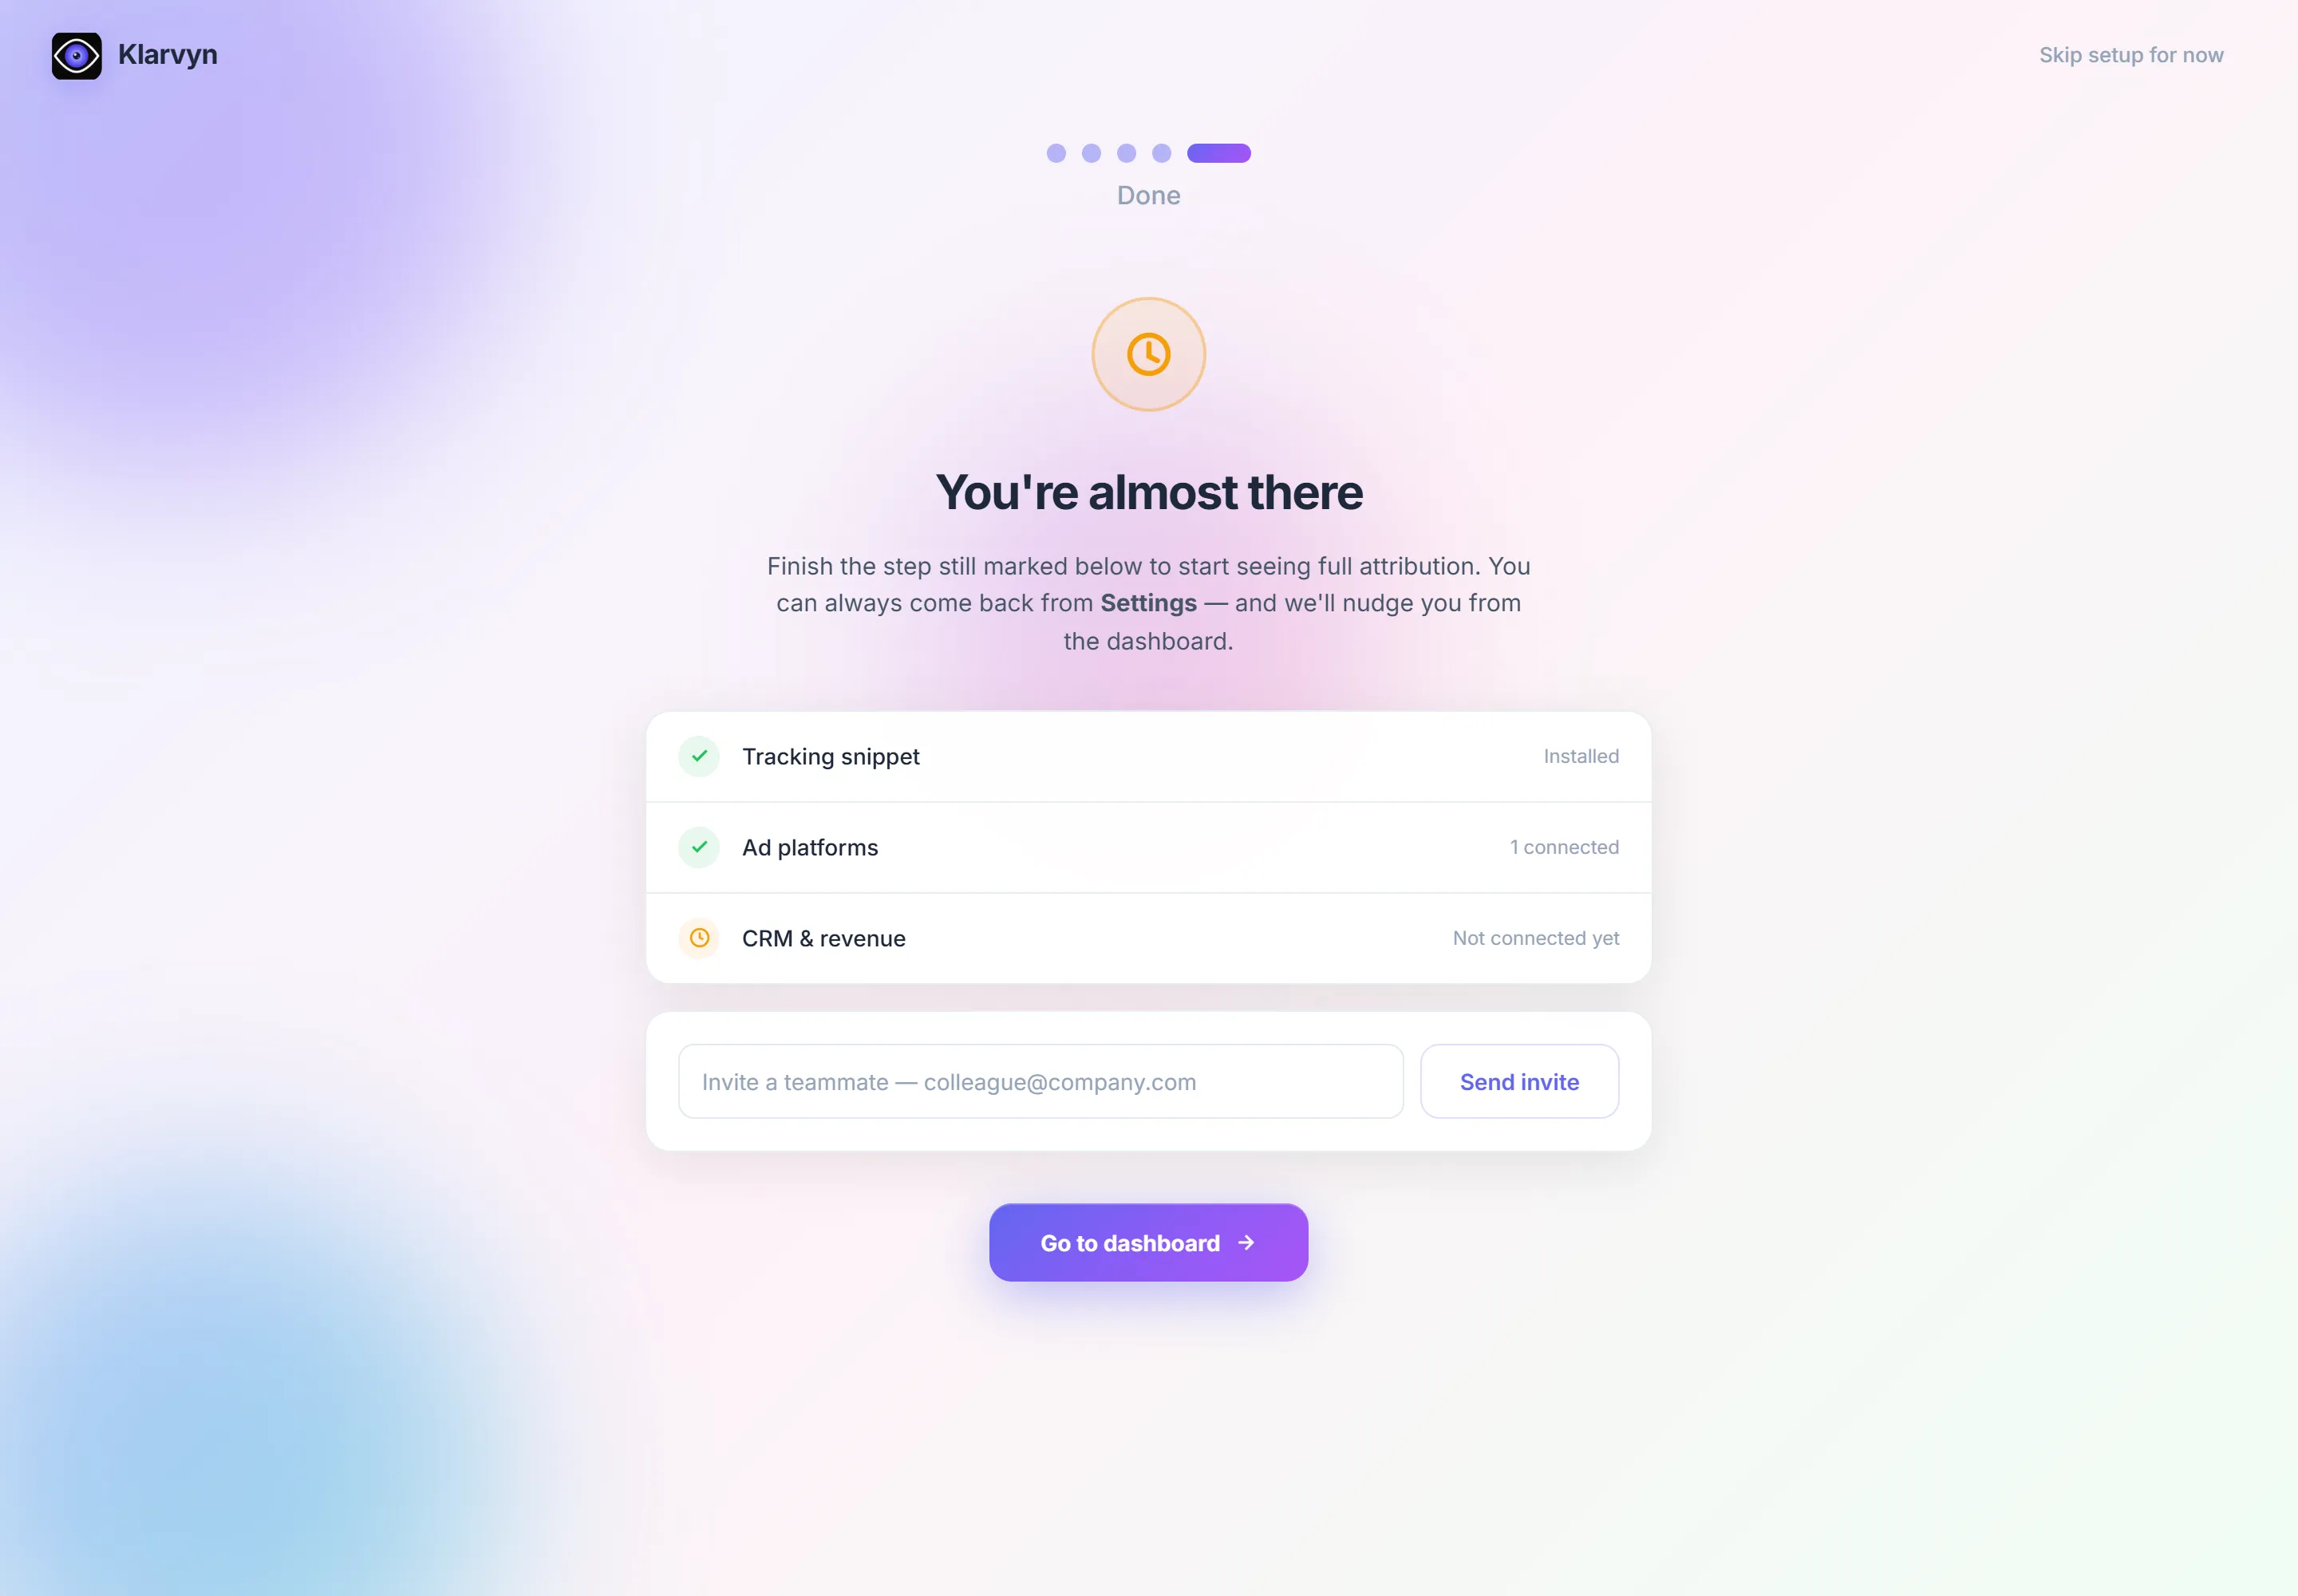
The final screen shows exactly what’s connected and what’s still waiting. You can invite a teammate right there, and anything unfinished stays one click away: a Finish setting up card in the app shows Continue setup (n left) until the checklist is complete (or you dismiss it).
What “good” looks like
Section titled “What “good” looks like”Within a day or two of connecting everything you should see: visits streaming into Events & Audiences → Events → Live, ad spend on the Dashboard and in Attribution next to Klarvyn-tracked conversions, and contacts whose first/last touch names the exact campaign and ad.
Where to go next
Section titled “Where to go next”- Using Klarvyn — a guide to every page.
- Integrations overview — connect guides for every ad platform, CRM, scheduling tool and payment provider.
- Selling online? Make sure your payment integration is connected so revenue — not just leads — attributes to your ads.